It’s creamier, fresher, and more flavorful than any store-bought hummus, with a silky-smooth texture and perfectly balanced taste.
Homemade Hummus
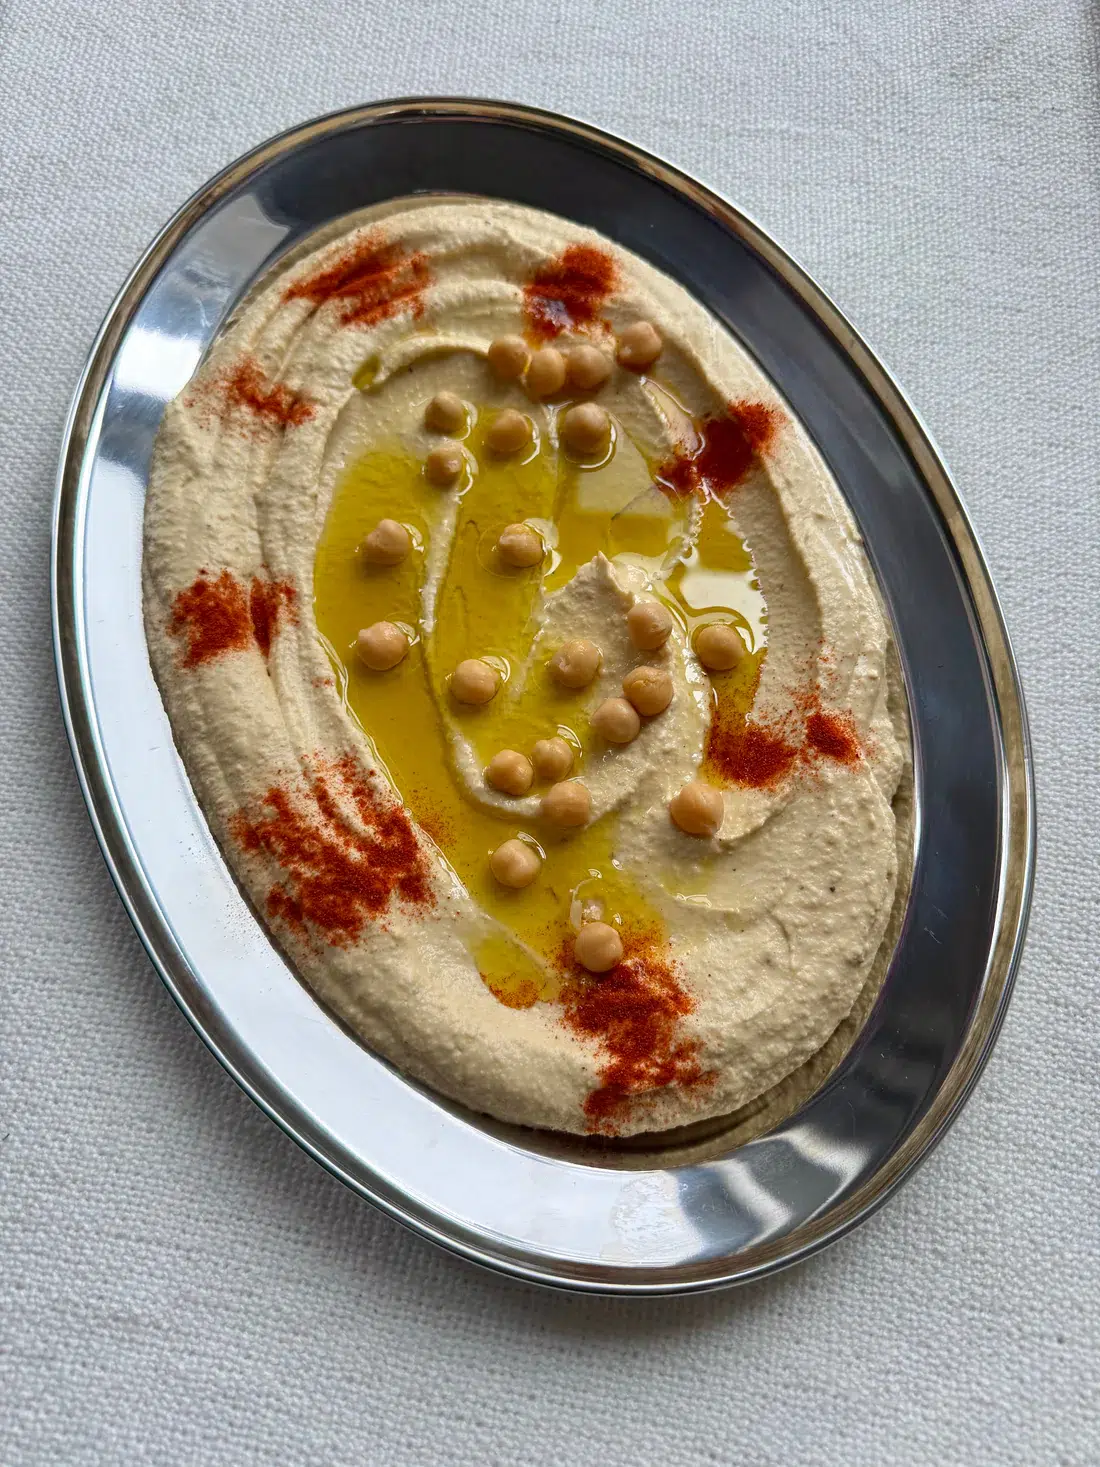
An ultra-creamy and perfectly balanced hummus, with foolproof tips to achieve a silky texture just like your favorite restaurants. Enjoy it as a dip, spread, or the base of vibrant Mediterranean bowls.
Categories
Food restrictions
Peanut free
Gluten-free
Lactose-free
Nut-free
Egg-free
Dairy-free
Soya-free
Meatless
The best homemade hummus you’ll ever make — guaranteed!
I love this well-balanced version, and I’m sharing a few key tips to help you get it right every single time.
Why make this recipe?
Homemade Hummus
To start things well
You use:
You cook for:
4
people
Ingredients
To serve:
Preparation
1.
Add the tahini and garlic clove to a food processor along with about 2 tbsp (15 ml) of water. Blend for 1 minute until the tahini is creamy and the garlic fully broken down.
2.
Add half the chickpeas and about 2 more tbsp (30 ml) of water (or more as needed to help it blend). Process until mostly smooth. Add the remaining chickpeas, lemon zest, and lemon juice. Blend again until the mixture becomes uniform.
3.
With the motor running, drop in the ice cubes one at a time. This helps create an ultra-smooth, creamy texture.
Add the olive oil, red wine vinegar, salt, and pepper. Blend again, adding more ice cubes if needed. Let the food processor run for several minutes (the longer it blends, the creamier it gets). Taste and adjust seasoning as needed.
4.
Serve immediately, topped with a few whole chickpeas, a sprinkle of smoked paprika, and a generous drizzle of olive oil. SO good.
Nutritional information
par portion
Calories
210 Kcal
Proteins
6 g
Carbs
18 g
Fiber
5 g
Recipes from the same category:
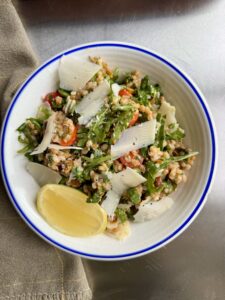
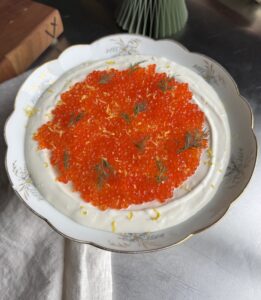


You might also like
Bon appetit and enjoy!
You can also leave us a comment and share your experience with this recipe.
Comments
(0 comments)
Discover the opinions and tips of other cooks!